

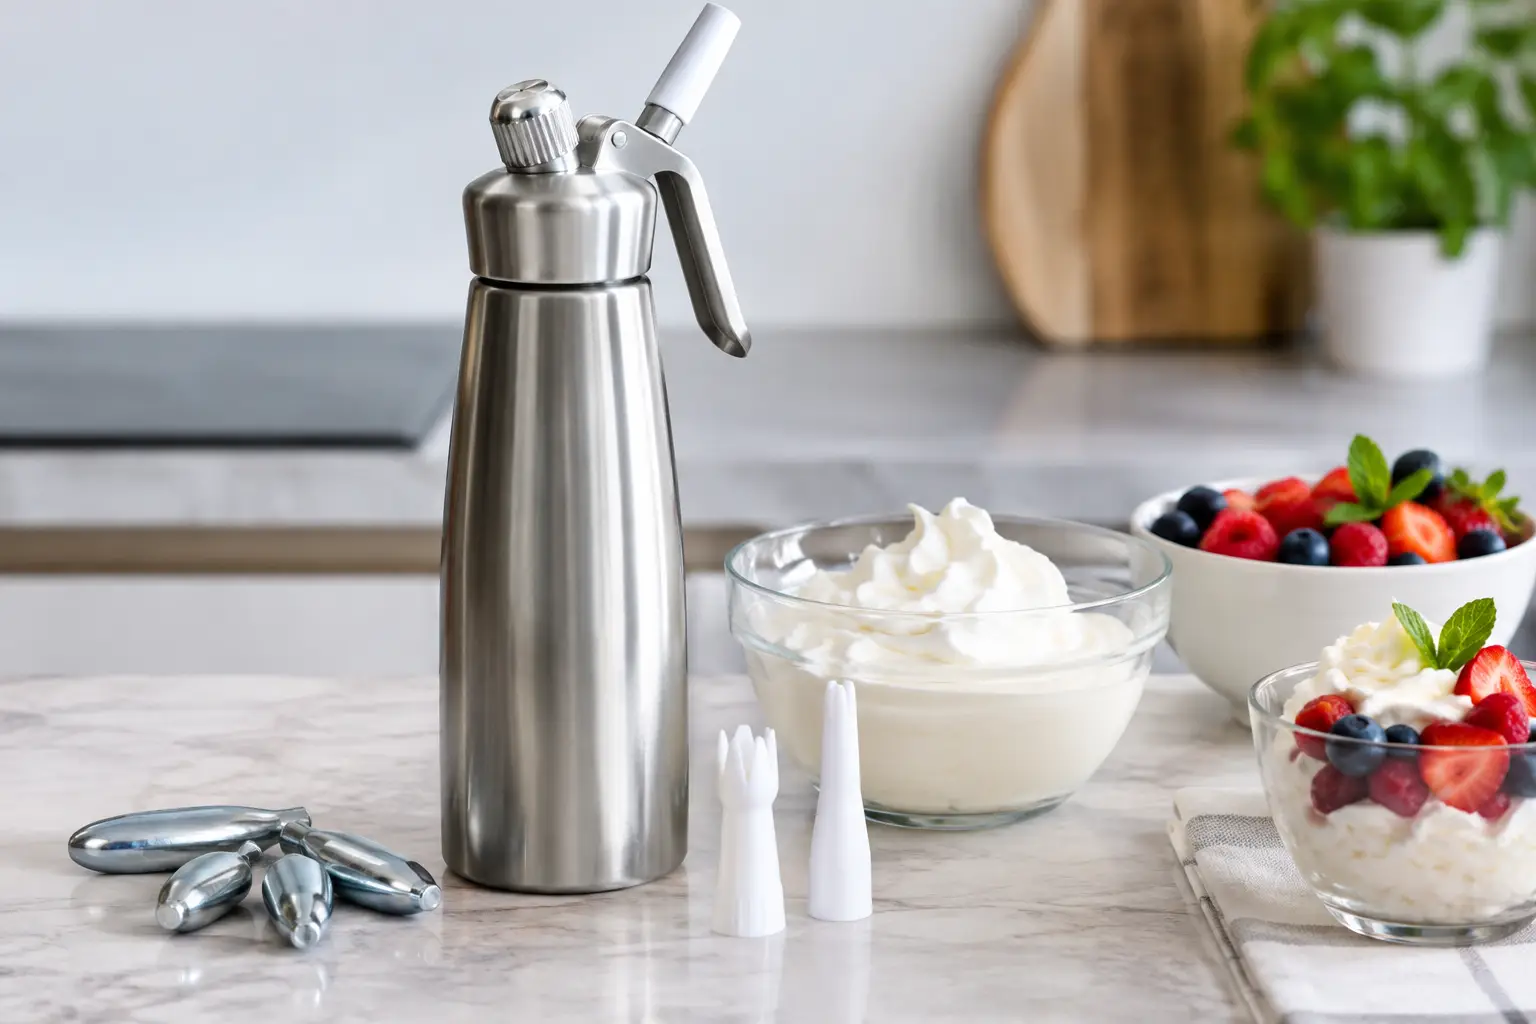
A flat, watery whipped topping can undo an otherwise excellent dessert in seconds. Learning how to use a whipped cream charger correctly gives you the light texture, clean definition, and fast service that make plated desserts, specialty coffees, and cocktail garnishes feel restaurant-ready. The process is simple, but details such as temperature, fat content, and dispenser care determine whether you get silky clouds of cream or a frustrating mess.
A whipped cream charger contains food-grade nitrous oxide, or N2O, designed to aerate cream inside a compatible whipped cream dispenser. It is a culinary tool for food and beverage preparation only. Never inhale gas directly from a charger, dispenser, or tank. Use the equipment only as directed, keep it away from heat, and store it where children cannot access it.
What You Need Before You Start
For consistent results, begin with a compatible whipped cream dispenser, a fresh gasket, a charger holder, and food-grade whipped cream chargers that fit your dispenser’s specifications. Standard 8-gram chargers are the familiar choice for many home and professional dispensers, while larger systems may use a regulator and purpose-built galaxy gas. Do not attempt to adapt one format to another. Matching the charger, dispenser, and manufacturer instructions is the first rule of reliable performance.
Your ingredient matters just as much as your equipment. Use cold heavy whipping cream with at least 30% milk fat. For richer, more stable results, many pastry professionals prefer heavy cream closer to 36% fat. Lower-fat dairy products do not whip as reliably, and plant-based alternatives vary widely. If you are using a non-dairy product, choose one specifically labeled as whippable and follow its preparation guidance.
Chill the cream before filling the dispenser. A cold dispenser is helpful too, especially in a busy kitchen or warm bar environment. Cold fat captures and holds the gas more effectively, which creates the smooth, stable structure you want for piping, topping, and finishing.
How to Use a Whipped Cream Charger Step by Step
Fill and seal the dispenser
Start with a clean dispenser. Check that the silicone gasket is seated evenly inside the head and that the decorating tip, if you are using one, is clear of residue. Pour in your cold cream, leaving adequate headspace and staying below the fill line. Overfilling reduces the space needed for proper aeration and can affect dispensing.
Add sweetener or flavoring before sealing the dispenser. Powdered sugar dissolves more cleanly than granulated sugar. Vanilla extract, espresso powder, finely strained fruit puree, or a small amount of liqueur can add character, but keep additions smooth and restrained. Any seeds, pulp, or undissolved particles can clog the valve and tip.
Screw the dispenser head on straight and tighten it securely by hand. Do not force the threads. A crooked or damaged seal can lead to leaks, wasted gas, and an inconsistent finish.
Charge the cream
Place one charger into the charger holder with the narrow end positioned according to the holder’s design. Screw the holder onto the dispenser head until you hear the charger release its gas into the dispenser. A brief hiss is normal during charging. Once the hissing stops, the charger is empty.
Remove the holder, take out the empty charger, and set it aside for disposal or recycling according to your local rules. Do not leave the empty charger in the holder. Replace the holder cap if your dispenser includes one.
For most standard dispensers, one charger is appropriate for a properly filled unit, but capacity and charging requirements depend on the dispenser model and ingredient volume. Larger dispensers may require more than one charger. Follow your dispenser manufacturer’s instructions rather than guessing, and never add extra chargers in an attempt to fix a problem caused by warm cream, an overfilled canister, or a clogged nozzle.
Shake, chill, and dispense
Hold the sealed dispenser with one hand around the body and shake it firmly several times. The goal is to distribute the gas through the cream, not to shake endlessly. Too little shaking can leave the cream under-aerated; excessive shaking can make the texture overly dense. Four to eight deliberate shakes are usually enough for standard whipped cream.
For the best body, refrigerate the charged dispenser for a few minutes before serving. If you are working ahead for a party, catered event, or dinner service, a chilled dispenser can hold prepared whipped cream for several days when stored properly. Keep it refrigerated, upright, and clearly labeled with the preparation date.
When you are ready to serve, turn the dispenser fully upside down. This is the detail many first-time users miss. The dispensing valve needs the cream beneath the gas to deliver an even, controlled flow. Press the lever gently at first, then adjust your pressure for rosettes, dollops, or a finer finish. Wipe the tip after service to prevent dried dairy residue from building up.
Get a Better Texture Every Time
The best whipped cream is not merely airy. It should be smooth enough to melt on the tongue, stable enough to hold a defined edge, and flavorful enough to earn its place on the plate. Start with very cold ingredients and avoid filling beyond the marked capacity. Those two habits solve a surprising number of texture issues.
If the cream comes out thin, the most likely causes are warm cream, not enough shaking, or a dispenser that was not held upside down. Chill the dispenser, give it a few more controlled shakes, and try again. If it comes out too stiff or sputters, you may have over-shaken it, used cream that is too thick, or allowed the dispenser to get too cold for the formula. Let it sit briefly in the refrigerator rather than at room temperature, then test a small amount.
A clogged tip usually points to an ingredient issue. Strain fruit preparations, dissolve powdered ingredients completely, and avoid chunky mix-ins. For flavored whipped creams, infuse the cream first, strain it thoroughly, then charge it. A vanilla bean, citrus peel, cinnamon, or coffee infusion can deliver polished flavor without compromising the dispenser.
Chef-Level Uses Beyond Dessert
A charger-equipped dispenser earns its counter space when it works across the menu. For dessert service, it can produce clean whipped cream rosettes for pies, cakes, waffles, hot cocoa, and espresso drinks in seconds. At the bar, it helps create quick foams and light cream toppings for espresso martinis, Irish coffees, or seasonal cocktails.
Savory applications are where ambitious home cooks and working chefs can go above the norm. Think whipped goat cheese for crostini, airy herb butter for grilled steak, or a light Parmesan mousse for a plated pasta course. These preparations demand more care than plain cream because they can clog easily. Blend until completely smooth, strain through a fine mesh, and use recipes developed for dispenser service.
For high-volume kitchens, consistency is the real advantage. A properly prepared dispenser gives pastry cooks and bar teams a predictable finish during a rush, reducing time spent hand-whipping batches and helping every plate leave the pass with the same polished presentation. Galaxy Gas offers culinary N2O options for cooks who want dependable performance across everyday prep and larger service demands.
Safe Handling, Cleaning, and Storage
Treat chargers as single-use culinary components. Keep unused chargers in a cool, dry place away from direct sunlight, flames, and high heat. Do not puncture, modify, or expose chargers to temperatures above the manufacturer’s stated limits. Use only food-grade products from reputable culinary brands, and inspect your dispenser regularly for cracked parts, worn gaskets, or damaged threads.
After the dispenser is empty, release any remaining pressure only according to the manufacturer’s cleaning instructions. Never attempt to open a pressurized dispenser. Disassemble it once pressure has been safely released, then wash the head, tip, gasket, and bottle as directed. Hand washing is often best for valves and gaskets, while some stainless steel bottles may be dishwasher-safe. Dry every component completely before storing it.
A well-maintained dispenser does more than protect your investment. It keeps flavors clean, prevents frustrating clogs, and makes the next round of whipped cream as dependable as the first. Start with cold cream, use compatible culinary equipment, and let each charger support the kind of precise, elevated finish your food deserves.