

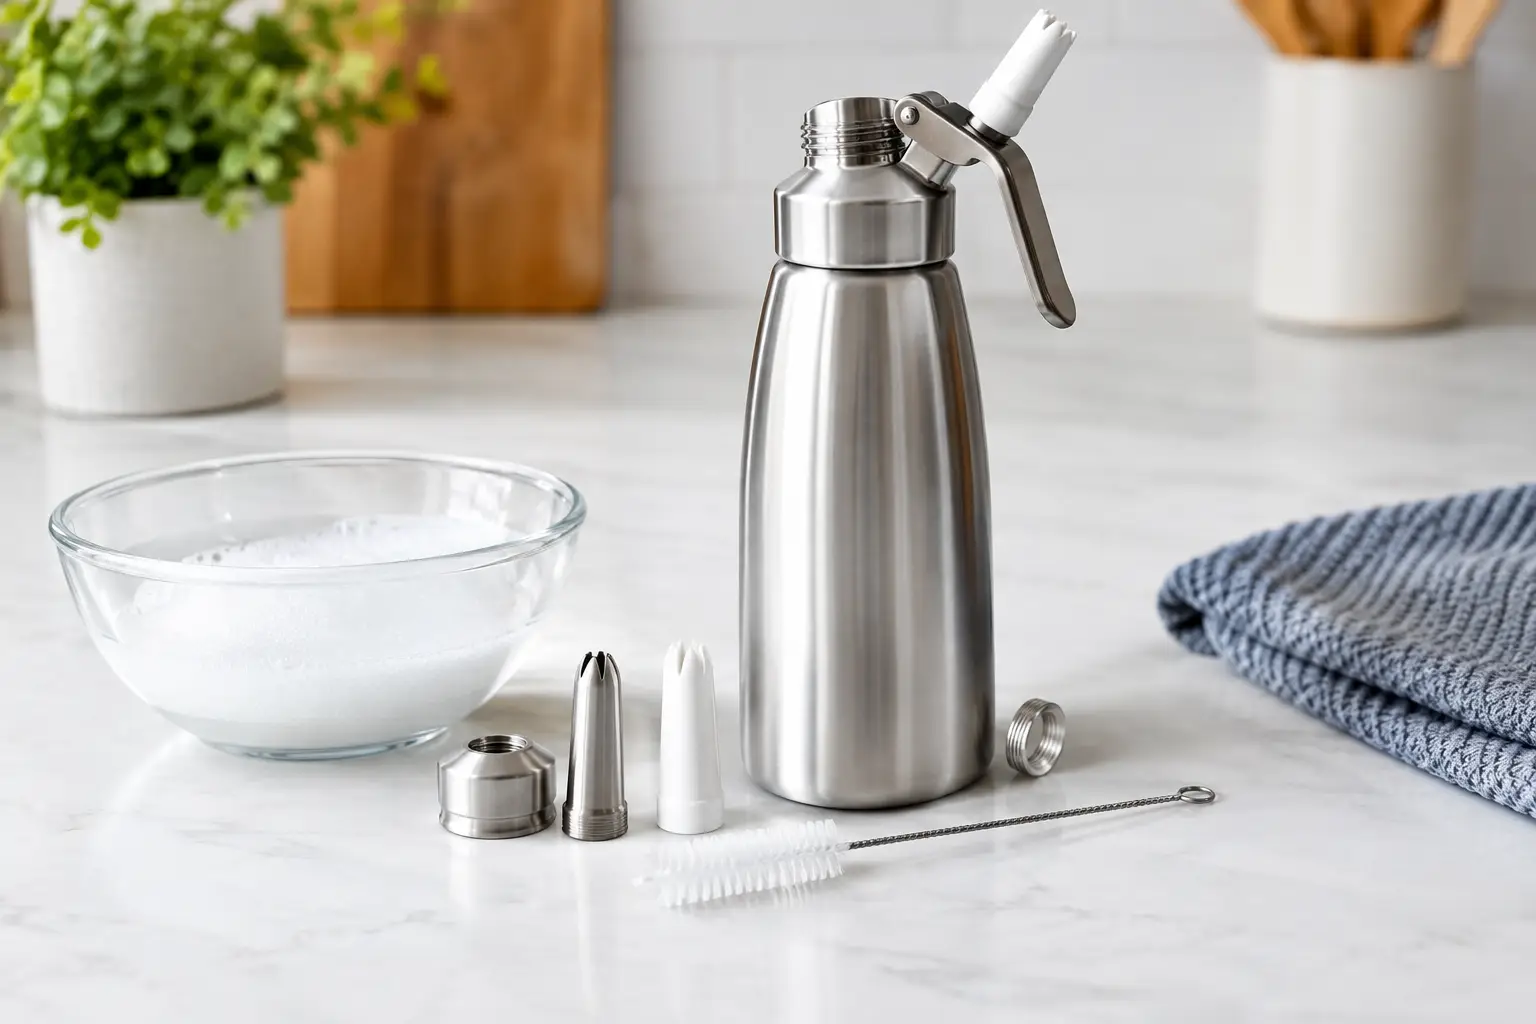
A dispenser that looks clean can still carry a trace of old cream in its tip, gasket, or valve. That is enough to flatten fresh foam, muddy a delicate vanilla profile, or slow service when a nozzle suddenly clogs. This whipped cream dispenser cleaning guide gives chefs, bar teams, and ambitious home cooks a dependable reset between culinary projects.
For a clean, consistent finish, treat the dispenser as a precision tool, not just a cream container. Proper care protects flavor, preserves the seal, and helps the unit deliver the fast, polished results you expect for plated desserts, coffee service, cocktail toppings, and inventive culinary work.
Clean It as Soon as Service Ends
The easiest dispenser to clean is the one that has not been left with dairy, sugar, or flavored cream drying inside it. Once service is finished, empty any remaining contents according to your food-safety procedures and begin cleaning promptly. A few minutes now can prevent a stubborn blockage later.
Before opening the dispenser, make sure all pressure has been released. Follow the operating instructions for your specific model and never force open a pressurized unit. The head should loosen easily only after it is fully depressurized. If it does not, stop and consult the manufacturer instructions rather than trying to pry, puncture, or force any component.
This step matters especially in high-volume environments. A busy dessert station or cocktail bar may put the same tool through repeated fills in one shift. Building a quick cleaning reset into the closing routine keeps the next round of service moving with expert performance.
The Whipped Cream Dispenser Cleaning Guide: 7 Steps
1. Disassemble the parts carefully
Once the dispenser is empty and depressurized, remove the head from the bottle. Take off the decorating tip, tip adapter if your model has one, and the silicone gasket or sealing ring. Some models also include a removable valve assembly. Only remove components that the manufacturer identifies as user-serviceable.
Lay the pieces on a clean towel or tray so small parts do not disappear into the sink. The gasket is particularly easy to misplace, and a missing or damaged seal can cause leaks or weak dispensing on the next use.
2. Rinse away fresh residue
Rinse the bottle, head, nozzle, and removable parts under warm running water. Warm water helps loosen cream before it sets, but it should not be excessively hot. Extreme heat can be hard on certain seals and may not be appropriate for every dispenser material.
Keep water focused on areas where product collects: the inside of the bottle, the underside of the head, the valve opening, and the decorating tip. If you used sweetened cream, flavored cream, or a preparation with syrups, rinse especially thoroughly. Sugar residue dries into a surprisingly effective plug.
3. Wash with mild dish soap
Fill the bottle with warm water and a small amount of mild dish soap. Use a soft bottle brush to clean the interior, reaching the bottom seam and shoulder of the canister. Do not use abrasive scouring pads, steel wool, or harsh cleaners. They can scratch stainless steel, dull aluminum finishes, and create places where residue can cling.
Wash the head and small components separately with a soft cloth or small brush. Avoid soaking parts longer than necessary unless the manufacturer permits it. The goal is clean equipment, not aggressive treatment that shortens the life of seals or finishes.
4. Clear the nozzle and valve path
The nozzle is where performance is won or lost. Use the cleaning brush or pin supplied with your dispenser, if included, to gently clear the narrow opening. Work slowly. Forcing a sharp object into the tip can damage the opening and change the shape of the foam.
Run warm water through the nozzle and any removable valve component until the flow is clear. If dried cream remains, let the part sit briefly in warm, soapy water, then brush it again. Do not assume a quick exterior rinse is enough. A clean-looking tip can still hold residue in its internal channel.
5. Rinse until there is no soap left
Rinse every part with clean warm water. Soap left in the bottle or nozzle can affect taste, aroma, and foam stability, which is not the finish you want on a premium dessert or cocktail.
Pay close attention to the gasket groove and the threads where the head meets the bottle. These areas can trap both detergent and cream. A final rinse through the nozzle is worth the extra few seconds.
6. Dry every piece completely
Air-dry the bottle upside down on a clean rack, with the opening exposed so moisture can escape. Set the head, gasket, nozzle, and other removable pieces on a clean towel to dry fully. Do not reassemble the dispenser wet and close it up for storage. Trapped moisture can create odors and gives residue a place to linger.
For professional kitchens, designate a clean, dry zone for dispenser components. Mixing freshly washed food-service parts with damp bar towels or used prep tools defeats the point of careful cleaning.
7. Reassemble only when it is dry and ready
When all components are dry, inspect the gasket for cracking, stretching, stickiness, or permanent discoloration. Check the nozzle for damage and make sure the threads are clean. Reinstall the gasket evenly, then assemble the dispenser according to its instructions.
Store the unit empty, clean, and unpressurized. Keep the head loosely assembled or stored beside the bottle if that is recommended for your model. This protects the seal and makes it easy to spot missing components before the next shift.
What Changes When You Use Different Preparations?
Classic whipped cream is straightforward, but not every culinary application cleans up the same way. Heavy cream with powdered sugar, flavored syrups, chocolate, fruit purees, or stabilizers leaves more residue than unsweetened cream. The richer or stickier the preparation, the faster you should rinse the dispenser after use.
For cocktail work, ingredients may include citrus, herbs, spices, or concentrated syrups. These can leave aroma behind even when the canister appears clean. Wash the nozzle and head with extra care before moving from savory or botanical preparations to delicate dessert toppings. Nobody wants last night’s rosemary note in a strawberry shortcake finish.
It also depends on your equipment. Stainless steel and aluminum dispensers can have different care requirements, and dishwasher-safe claims vary by manufacturer and by part. If your dispenser manual says a component is dishwasher-safe, follow its placement and temperature guidance. If it does not, hand washing is the safer choice for long-term reliability.
Common Cleaning Mistakes That Hurt Performance
The most common mistake is waiting too long. Dried cream is harder to remove, and it is more likely to clog the nozzle or valve path. The next is skipping disassembly. Washing only the bottle leaves the parts most likely to affect flow untouched.
Overtightening is another avoidable problem. Do not crank down the head, nozzle, or charger holder beyond what the manufacturer specifies. Clean threads and a properly seated gasket do more for a secure seal than extra force ever will.
Finally, do not use a dispenser with a damaged gasket, a bent nozzle, stripped threads, or unexplained leaks. Replacement parts are a practical investment compared with inconsistent output during a rush. For chefs and high-volume mixologists, dependable equipment is part of the presentation.
Build a Cleaning Routine That Matches Your Pace
A serious home cook may need a full wash after each use. A restaurant or event team may need a rinse-and-reset workflow between services, followed by a more deliberate inspection at closing. The right schedule depends on how often you refill, what you are dispensing, and how quickly components can be washed and dried safely.
Keep a small soft brush, clean towels, and approved replacement gaskets where the dispenser is used. That simple setup turns maintenance into a quick habit instead of a last-minute scramble. Galaxy Gas customers who rely on culinary N2O tools for high-impact desserts, rapid infusions, and elevated drink service know that great results start with clean equipment.
A spotless dispenser is not glamorous, but the first clean ribbon of stable, flavorful foam makes the difference obvious. Give the tool the same attention you give the recipe, and it will be ready when your next creative finish needs to go above the norm.